SUSI Web Chat supports different browser languages on the Chat UI. The content used to render the date/time formats and the text is translated to the preferred language based on the language selected in the Language Settings.
To test it out on SUSI Web Chat,
- Head over to http://chat.susi.ai
- Go to settings from the right dropdown.
- Set your preferred language inside Language Settings.
- Save and see the SUSI Chat render in the preferred language.

To achieve Internationalization, a number of important steps are to be followed –
- The best approach to follow would be to use po/pot files and get the translated string from the files. The format of the files can be used as follows. This is a JSON Structure for Javascript Projects. (File : de.json)
{
   "About":"About",
   "Chat":"Chat",
   "Skills":"Skills",
   "Settings":"Settings",
   "Login":"Login",
   "Logout":"Logout",
   "Themes": "Themes",
}
2. After creating the valid po/pot files in the right formats, we create a component which shall translate our text in the selected language and will import that particular string from that po file. To make it easier in Javascript we are using the JSON files that we created here.
3. Our Translate.react.js component is a special component which shall return us only a <span> text which shall get the User’s preferred language from the store and import that particular po/pot file and match the key as text which is being passed to it and give us the translated text. The following code snippet explains the above sentences more precisely.
changeLanguage = (text) => {
        this.setState({
            text:text
        })
  }
  // Here 'de' is the JSON file which we imported into this component
  componentDidMount() {
    let defaultPrefLanguage = this.state.defaultPrefLanguage;
    var arrDe = Object.keys(de);
    let text = this.state.text;
    if(defaultPrefLanguage!=='en-US'){
      for (let key=0;key<arrDe.length;key++) {
          if (arrDe[key]===text) {
              this.changeLanguage(de[arrDe[key]]);
          }
        }
    }
  }
   render() {
        return <span>{this.state.text}</span>
     }
4. The next step is to bind all the text throughout our components into this <Translate text=” ”/> component which shall send us back the translated content. So any string in any component can be replaced with the following.
<Translate text="About" />
Here the text “About” is being sent over to the Translate.react.js component and it is getting us the German translation of the string About from the file de.json.
5. We then render the Translated content in our Chat UI. (File: Translate.react.js)

About Weblate
Weblate is a Web based translation tool with git integration supporting wide range of file formats and making it easy for translators to contribute. The translations should be kept within the same repository as source code and translation process should closely follow development. To know more about Weblate go to this link.
Integrating SUSI Web Chat with Weblate
- First, we deploy Weblate on our localhost using the installation guide given in these docs. I used the pip installation guide for Weblate as mentioned in this link. After doing that we copy weblate/settings_example.py to weblate/settings.py. Then we configure settings.py and use the following command to migrate the settings.
./manage.py migrate
- Next step is to create an admin using the following command.
./manage.py createadmin
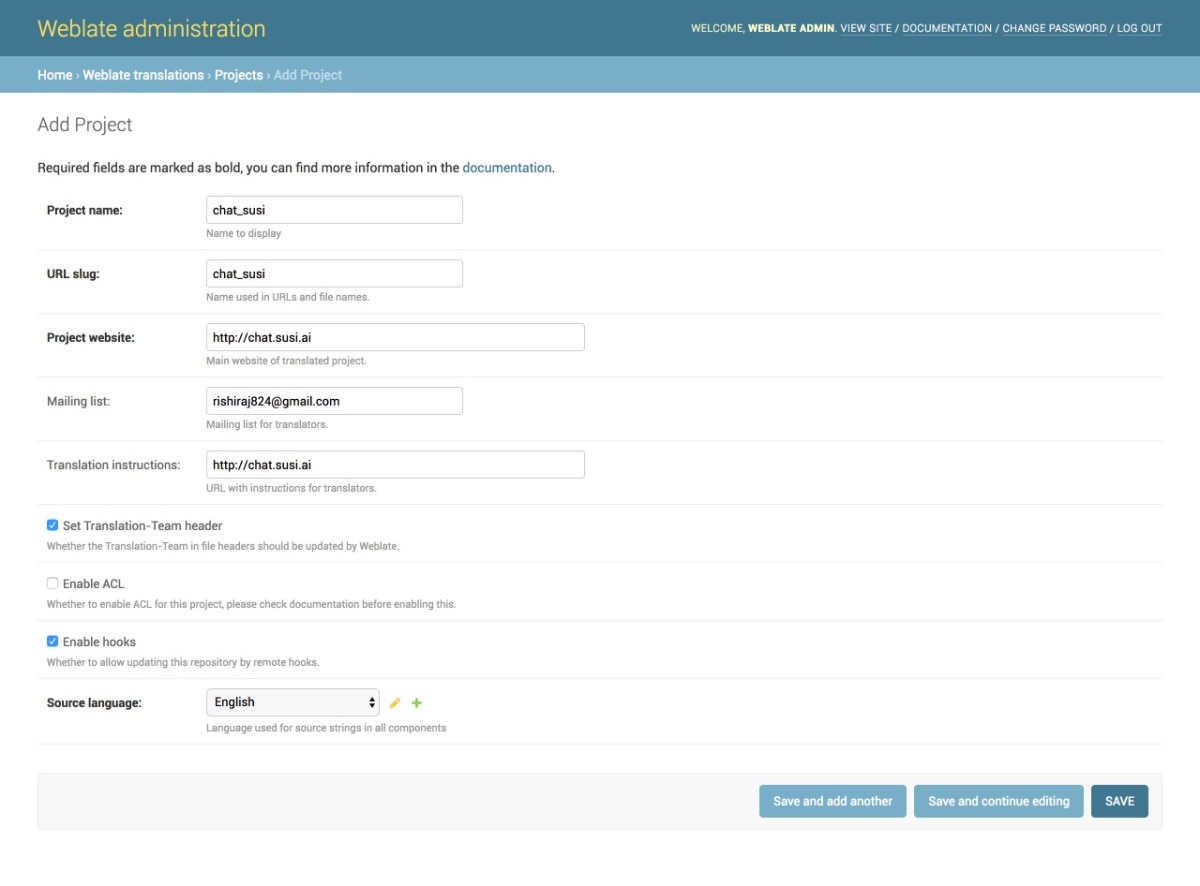
- We then add a project from our Admin dashboard by filling details in the following manner as shown in the image

- Once the project is added, we add the component to link our Translation files as shown in the image.
- Once the files are linked we will see our Overview Project Page and the Information. It can be seen in the image below. The screenshot shows a 100% translation that means all of our strings are translated correctly for German.


- To change any translation we make changes and push it to the repository where our SSH key generated from Weblate is added. A full guide to do that is mentioned in this link.
- We can push any changes to the repository by making changes in our local. This will generate a commit from the Weblate Admin in our repository as seen in the following screenshot.

Resources
- React Internationalization Library – react-intl
- Official Docs about Weblate – Weblate docs.
- Format for po/pot files, JSON files etc. – https://docs.weblate.org/en/latest/formats.html#json-and-nested-structure-json-files
- Weblate – https://weblate.org

