

Implement Internationalization in SUSI Android With Weblate
When you build an Android app, you must consider about users for whom you are building an app. It may be possible that you users are from the different region. To support the most users your app should show text in locale language so that user can use your app easily. Our app SUSI Android is also targeting users from different regions. Internationalization is a way that ensures our app can be adapted to various languages without requiring any change to source code. This also allows projects to collaborate with non-coders more easily and plugin translation tools like Weblate.
Benefits of using Internationalization are:
- It reduces the time for localization i.e it will localize your app automatically.
- It helps us to keep and maintain only single source code for different regions.
To achieve Internationalization in Android app you must follow below steps:
- Move all the required contents of your app’s user interface into the resource file.
- Create new directories inside res to add support for Internationalization. Each directory’s name should follow rule <resource type>-(language code). For example values-es contains string resource for es language code i.e Spanish.
- Now add different locale content in the respective folder.
We need to create separate directories for different locale because to show locale specific content, Android check specific folder i.e res/<resource type>-(language code) like res/values-de and show content from that folder. That’s why we need to move all the required content into resource file so that each required content can be shown in the specific locale.
How Internationalization is implemented in SUSI Android
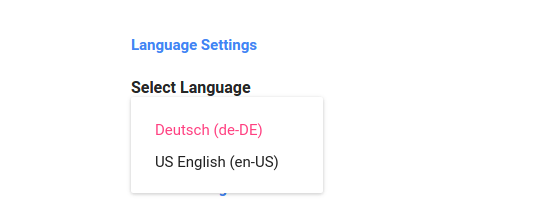
In SUSI Android there is not any locale specific image but only string. So I created only locale specific value resource folder to add locale specific strings. To create locale specific values folder I follow the above-mentioned rule i.e <resource type>-(language code).

After that, I added specific language string in the respective folder.

Instead of hard-coded strings, we used strings from string.xml file so that it will change automatically according to the region.
| android:text=“@string/reset” |
and
| showToast(getString(R.string.wrong_password)) |
In absence of resource directory for any specific locale, Android use default resource directory.
Integrate Weblate in SUSI Android
Weblate is a web based translation tool. The best part of Weblate is its tight version control integration which makes it easy for translators to contribute because translator does not need to fork your repo and send pull request for each change but Weblate handle this part i.e translator translate strings of the project in Weblate site and Weblate will send pull request for those changes.
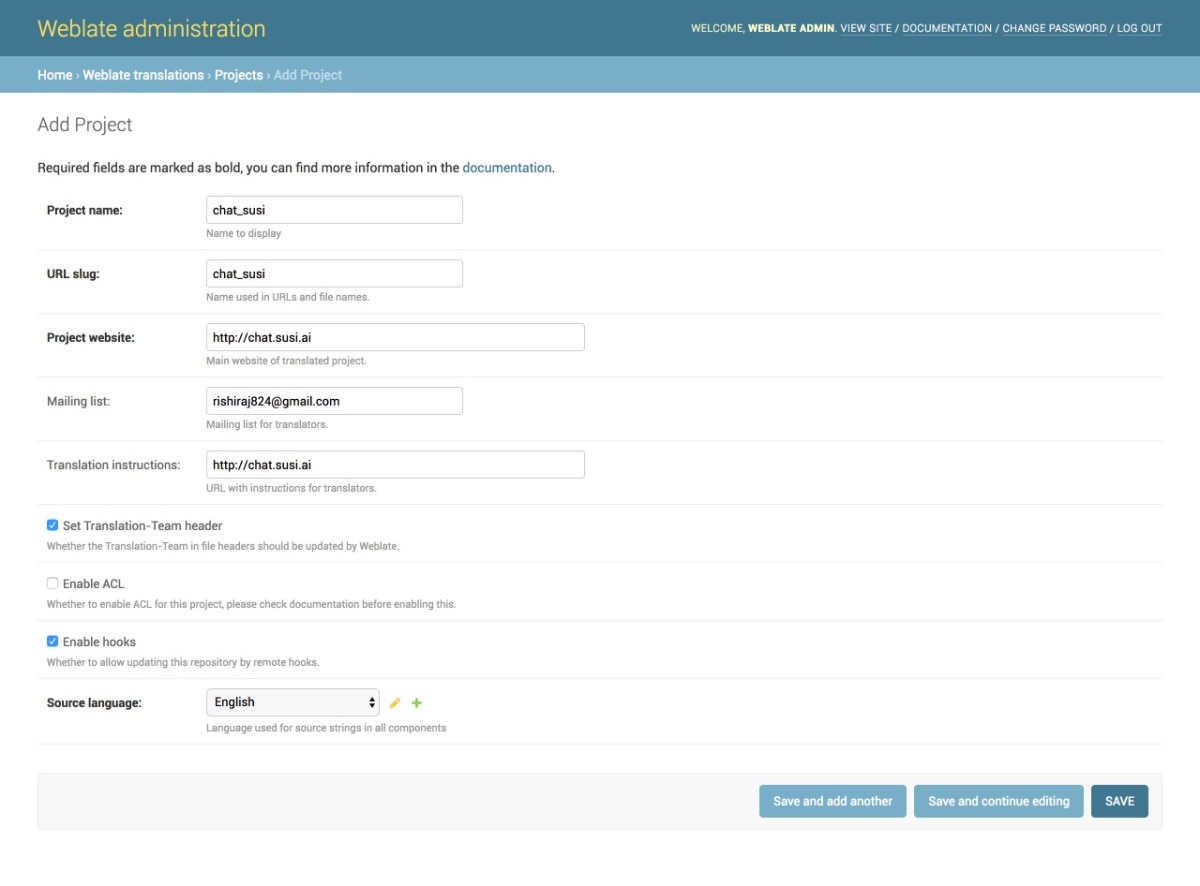
Weblate can host your free software projects for free but it depends on them. Here is the link of SUSI Android project hosted on Weblate. If your project is good then they can host your project for free. But for that, you have to apply from this link and select ask for hosting. Now fill up form as shown in below picture.

Once your project is hosted on Weblate, they will email you about it. After that, you have to integrate Weblate in your project so that Weblate can automatically push translated strings to your project and also Weblate get notify about changes in your repository. Here is the link on how to add Weblate service and Weblate user to your project.
If it is not possible to host your project on Weblate for free then you can host it by own. You can follow below steps:
- First, we deploy Weblate on our localhost using the installation guide given on Weblate site. I install Weblate from git. I cloned latest source code using Git
| git clone https://github.com/WeblateOrg/weblate.git |
- Now change directory to where you cloned weblate source code and install all the required dependencies and optional dependencies using code
| pip install -r requirements.txt |
and
| pip install -r requirements-optional.txt |
- After doing that we copy weblate/settings_example.py to weblate/settings.py. Then we configure settings.py and use the following command to migrate the settings.
| ./manage.py migrate |
- Now create an admin using following command.
| ./manage.py createadmin |
- After that add a project from your Admin dashboard (Web translations-> Projects-> Add Project) by filling all details.
- Once the project is added, we add the component (Web translations-> Components-> Add Component) to link our Translation files.
- To change any translation we make changes and push it to the repository where our SSH key generated from Weblate is added. A full guide to do that is mentioned in this link.
Reference
- Tutorial by Google on how to support different languages: https://developer.android.com/training/basics/supporting-devices/languages.html
- Tutorial on internationalization with Android Studio: https://lingohub.com/frameworks-file-formats/android-i18n-android-studio/
- Android tutorial localization, internationalization and resources: https://www.slideshare.net/martyhall/android-tutorial-localization-l10n-internationalization-i18n-and-resources
- Github link of Weblate: https://github.com/WeblateOrg/weblate


You must be logged in to post a comment.