

Extending ember-models-table for semantic UI in Open Event Front-end
Open Event Front-end uses ember-models-table for handling all its tables. We chose models-table as there are many tables that are used to display relevant data in the project, which provides features like sorting, searching and pagination common to all table. The ember-models-table allows us handle all such functions using a component.
Although the ember-models-table is great for all kinds of table, it does not support semantic ui which is used in the project. How did you make ember-models-table compatible with semantic ui?
Adding ember-models-table to the project
To add the ember-models-table to the project use:
ember install ember-models-table
Extending the models-table component
The models-table component of the ember-models-table is wrapper which handles all the table functions like search & sort. We extend the models-table component and override the properties of the component.
Create a table component
ember g component ui-table
import Ember from 'ember';
import TableComponent from 'ember-models-table/components/models-table';
import layout from 'open-event-frontend/templates/components/ui-table';

export default TableComponent.extend({
  layout
});
We extend the models-table component by importing it to the ui-table component. We define the layout which is the handlebars template of the table that will be rendered.
<div class="{{classes.outerTableWrapper}}">
  <div class="{{classes.globalFilterDropdownWrapper}}">
    {{#if showPageSize}}
      {{partial pageSizeTemplate}}
    {{/if}}
    {{#if showGlobalFilter}}
      {{partial globalFilterTemplate}}
    {{/if}}
  </div>
  <div class="ui row">
    <div class="{{classes.innerTableWrapper}}">
      <table class="{{classes.table}}">
        <thead class="{{if noHeaderFilteringAndSorting 'table-header-no-filtering-and-sorting'}} {{classes.thead}}">
          {{#if groupedHeaders.length}}
            {{partial headerGroupedRowsTemplate}}
          {{/if}}
          {{partial headerSortingRowTemplate}}
          {{#if useFilteringByColumns}}
            {{partial headerFilteringRowTemplate}}
          {{/if}}
        </thead>
        <tbody>
          {{#if allColumnsAreHidden}}
            {{partial allColumnsHiddenTemplate}}
          {{else}}
            {{#if visibleContent.length}}
              {{#each visibleContent as |record index|}}
                {{#if record}}
                  {{#if (gte index 0)}}
                    {{partial rowTemplate}}
                  {{/if}}
                {{/if}}
              {{/each}}
            {{else}}
              {{partial noDataShowTemplate}}
            {{/if}}
          {{/if}}
        </tbody>
        <tfoot>
          {{partial tableFooterTemplate}}
        </tfoot>
      </table>
    </div>
  </div>
  {{#if showComponentFooter}}
    {{partial componentFooterTemplate}}
  {{/if}}
</div>
{{yield}}
Overriding properties of models-table
The models-table component is not compatible with semantic ui styling, we add the semantic compatibility by overriding the classes of the component & changing it to semantic ui classes. This ensures that the component renders as expected using the semantic ui styled layout.
const defaultCssClasses = {
  outerTableWrapper              : 'ui ui-table',
  columnsDropdown                : 'ui dropdown right'
  pageSizeSelectWrapper          : 'left aligned',
  paginationWrapperNumeric       : 'column four wide',
  paginationWrapperDefault       : 'column four wide',
  buttonDefault                  : 'ui basic button',
  collapseRow                    : 'collapse-row',
  collapseAllRows                : 'collapse-all-rows',
  expandRow                      : 'expand-row',
  expandAllRows                  : 'expand-all-rows',
  clearFilterIcon                : 'remove circle icon',
  globalFilterDropdownWrapper    : 'ui row stackable grid'
};
These classes are use to render all the components of the table.
Adding sub-subcomponents of the models-table
The models-table components uses sub-components which are used to render different sections of the table. We add all the sub-components listed below from here & add it to ui-table.js :
simplePaginationTemplate: 'components/ui-table/simple-pagination',
numericPaginationTemplate: 'components/ui-table/numeric-pagination',
tableFooterTemplate: 'components/ui-table/table-footer',
componentFooterTemplate: 'components/ui-table/component-footer',
pageSizeTemplate: 'components/ui-table/page-size',
globalFilterTemplate: 'components/ui-table/global-filter',
columnsDropdownTemplate: 'components/ui-table/columns-dropdown'
Rendering the ui-table component
For rending the table we need to insert the component using :
{{ui-table columns=columns data=model
  useNumericPagination=true
  showGlobalFilter=true
  showPageSize=true
}}
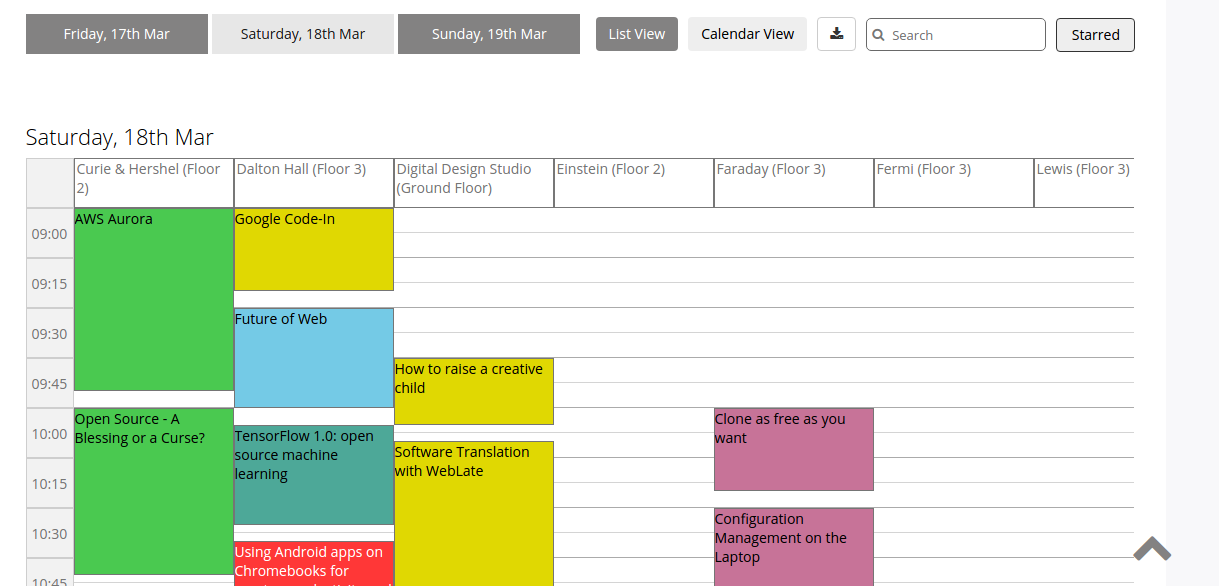
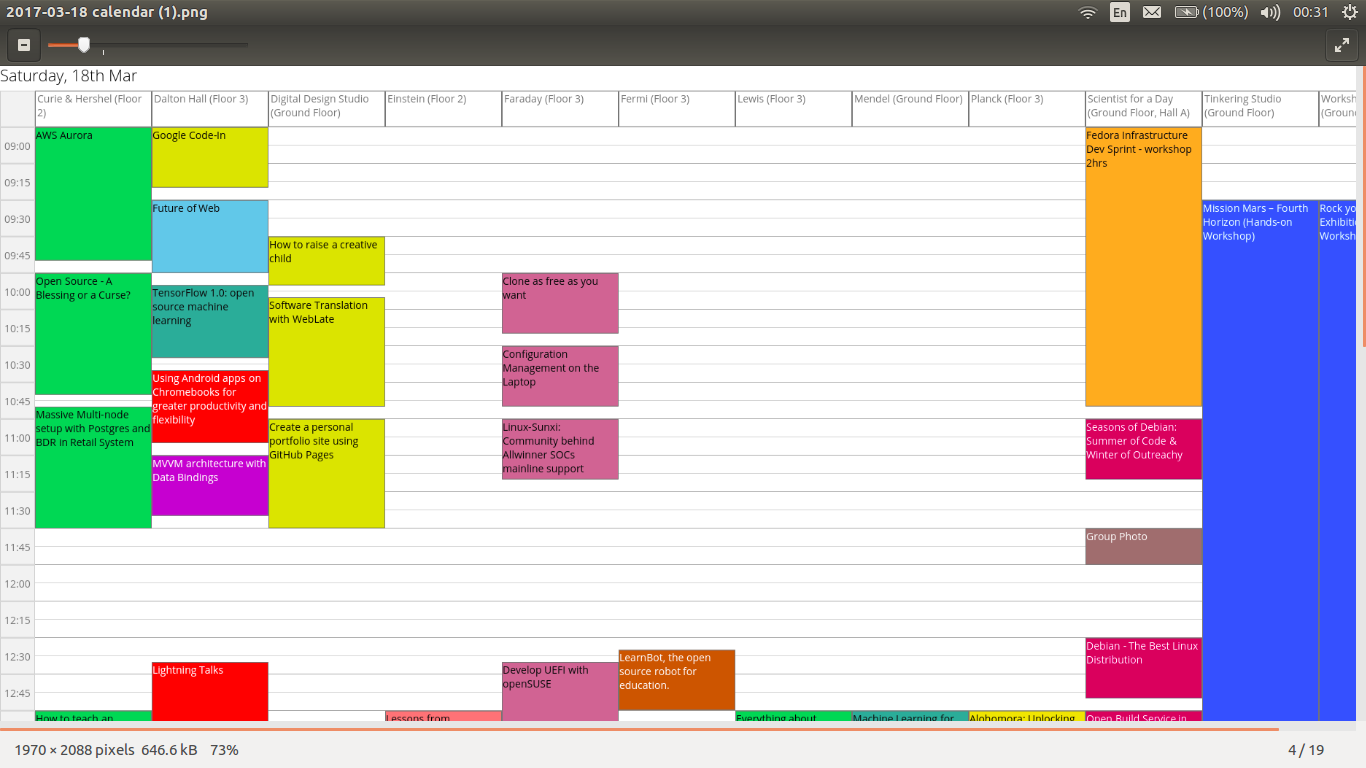
The outcome of this change on the Open Event Front-end now looks like this:

Thank you for reading the blog, you can check the source code for the example here.
Resources:


You must be logged in to post a comment.