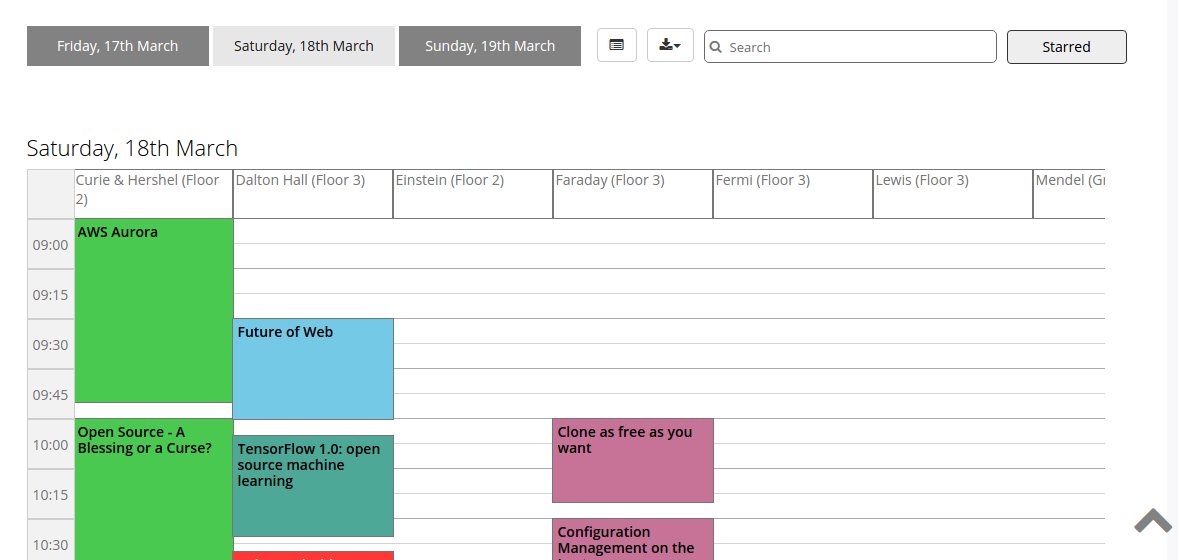
Recently, we implemented a feature request in the Open Event Webapp which allows the organizers of an event to choose the style of the sessions displayed on the event web site. Before this feature of individual session pages was implemented, we had a single default style of displaying collapsible session elements on the page. A small preview of the session containing its title, type, name, position, and picture of the speaker(s) presenting it would be shown on the different pages. When the user will click on this session element, it would collapse showing detailed information about it.
Before Clicking
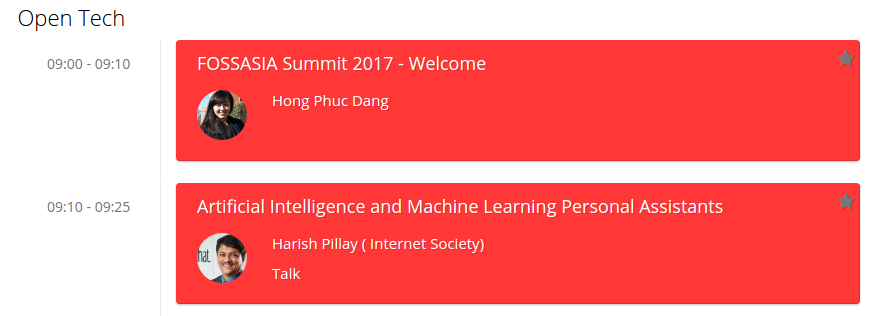
After Clicking on the first session element
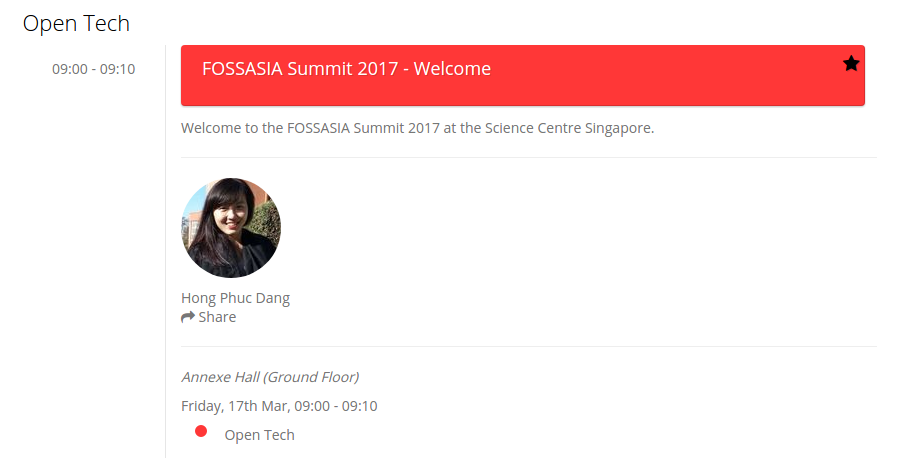
While this default behavior of collapse of session element on click (shown above) works well in most of the cases, it might not be apt in situations where the session contains a large amount of detail and a higher number of speakers presenting it. Single session pages would work better in that case.
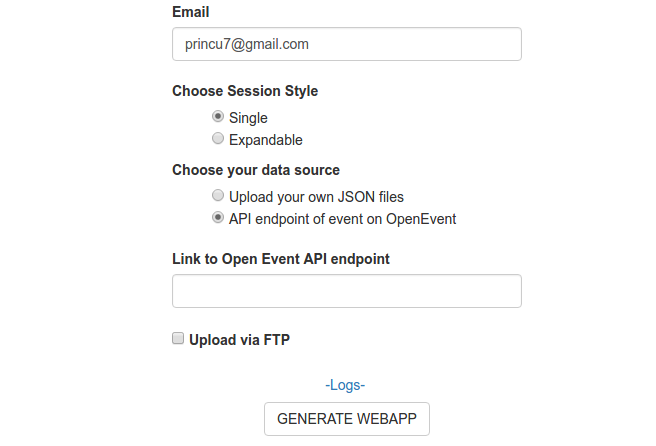
So, we provided an option to select it on the generator form itself. We provided an input field asking which session style does the organizer want? Is it the single session style or the expandable session? The organizer can then select one of them and the site will be generated according to that!!
The whole work was huge and you can view all of it here. I will only be describing the major parts of it here.
The first challenge was to make a template (handlebars) file for the individual sessions. This template would take a single session object as an input. The object would contain all the details about the session and after compilation during generation, a unique individual page for that session would be created.
Here is the basic structure of the template. You can view the whole file here
<div class="container session-container">
 <!-- Contains all the information about the session -->
 <div class="row single-session" id="{{session_id}}">
   <!-- Displaying the date, start and end time of the session -->
   <h3> {{startDay}} </h3>
   <div class = "eventtime"><span class="time-track">{{start}} - {{end}}</span></div>
   <div class="session-content">
     <div class="sizeevent event" id="event-title">
       <!-- Display the title, type and the track of the session -->
     </div>
     <div>
       <!-- Short abstract of the session -->
       {{{description}}}
       <div class="session-speakers-list">
         <!-- Contains detailed information about the speakers of the session. Display their picture, show their position, short biography and social links links like Github, Twitter and LinkedIn -->
       </div>
     </div>
   </div>
 </div>
</div>
But the work is not completed yet. We have to check the style of the session selected by the organizer and if he/she has selected the single session option, then we have to pass all the sessions to this template file during the generation process and create the pages. If the mode selected is expandable, then we carry out the normal generation procedure. Else, we extract every session from the JSON data and feed into to the above template. Since the number of sessions can be quite large, we don’t generate them alongside the other pages like tracks, schedule, rooms, speakers and so on. Instead, we create a new folder named sessions and put in all of the new individual pages there in one place. It helps to keep the directory clean and modularized. Also, since we are placing it inside of a session folder, we will have to update the links to the main pages in the navbar section. Like, instead of track.html, it will be ../tracks.html now. The file is given a common format name of session_sessionId where sessionId is the id of that particular session.
Here is the related code. It is taken from generator.js file in the project
function templateGenerate() {
 if(mode == 'single') {
   function checkLinks() {
     // Made necessary modifications in the links to the main pages
   }
   //jsonData contains all the information about the event
   var trackArr = jsonData.tracks;
   for(var i = 0; i < trackArr.length; i++) {
     var sessionArr = trackArr[i].sessions;
     for(var j = 0; j < sessionArr.length; j++) {
       var sessionObj = JSON.parse(JSON.stringify(sessionArr[j]));
       // Do some modifications in the sessionObj to include the track background and font color and additional links
     }
   }
   var data = {session: sessionObj};
   checkLinks();
   // Pass the session object to the template, compile and minify the HTML file and place into the sessions folder
   fs.writeFileSync(distHelper.distPath + '/' + appFolder + '/sessions/session_' + sessionId + '.html', minifyHtml(sessiontpl(data)));
 }
}
Ok, most of the things are done now. Just one simple step is missing. When the user clicks on the small session element on the tracks, rooms or the schedule page, then we collapse the session element or open up a brand new session page for showing detailed information about the session depending upon what option the organizer has selected. So, we will have to make little appropriate change for handling this as well. Below code is taken from the tracks page template file
<div class = "room-filter">
 {{#if ../../../mode}}
   <div class="sizeevent event">
 {{else}}
   <div class="sizeevent event" data-toggle="collapse" data-target="#desc-{{session_id}}, #desc2-{{session_id}}">
 {{/if}}
</div>

$('.room-filter').click(function () {
 var sessionMode = "{{mode}}";
 var id =  $(this).attr('id');
 if(sessionMode == 'single') {
   var curUrl = window.location.href;
   var newUrl = curUrl.substring(0, curUrl.lastIndexOf('/') + 1) + 'sessions/session_' + id + ".html";
   window.location.href = newUrl;
 }
});
We are simply checking the mode and if it is set, it means that the session style is a single page. So, we don’t include the bootstrap collapse classes in that case. We handle that click event in the javascript part and appropriate redirect the user to the unique page for that session.
So, after all this hard work, this is how it looks like.
Before clicking
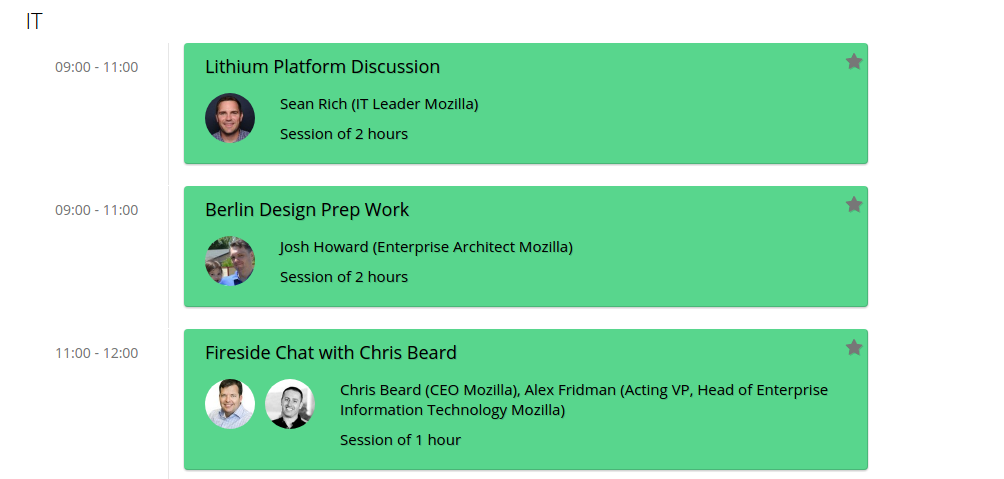
After clicking on the first session element, a new page is opened

Resources


You must be logged in to post a comment.