Voice Interfaces
(This blogpost is based on a meetup that was held about voice interfaces).
Evolution of User Interfaces
From keyboards, to GUIs, to Touch, and now Voice!
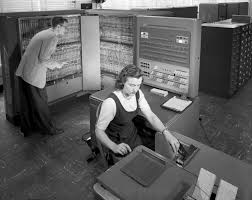
First we used punch cards to talk to machines, it was very costly and was used mostly as research, it was our first experience with machines.

Perforated cards.
At the beginning of computing we found the first large computers, huge and noisy boxes and complexity of management that only universities and large companies could afford to drive.
How it worked is that you wrote your code and used a machine that punched holes through it and the machine would parse this data, convert it to its own internal representation and start a job for it, these machines were new and many people wanted to use it, so there were long queues in order to use these machines, it was very expensive, and difficult to use, there was no user interface design at all. And they were not designed for the public, so they didn’t have that in mind.
Fortunately, it was evolving and access to them was increasingly common although they were still products mainly for work issues. They were years in which some punched cards were used to enter the different orders, it was not comfortable at all.
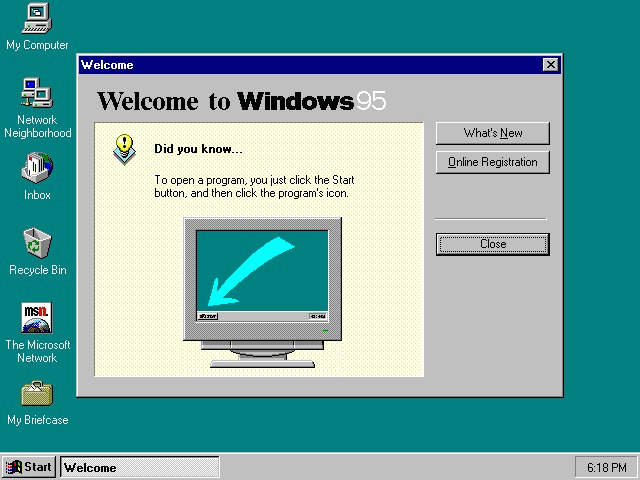
But Xerox arrived and its graphic interface. An important leap when interacting with a computer because, so far, only through command lines could and should be an expert. Unfortunately few remember the people of Xerox Parc and their contribution to the world of information technology. Most think of Apple and its Macintosh or Microsoft and Windows 1.0 as the “inventors” of graphical interfaces. But no, it was not like that. What we can not deny to Apple and Microsoft, especially to the former, is their weight in the creation of personal computers and their democratization so that we could all have one.
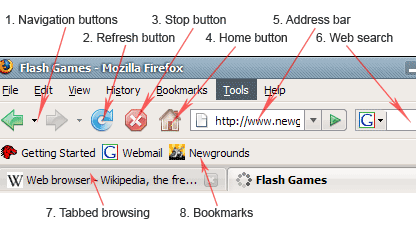
Then comes the command line

Command Line (or CLI) It is an Interface, a method to manipulate written instructions to the underlying program below. This interface is customary to call System console or command console. It interacts with the information in the simplest way possible, without graphics or anything else than the raw text. The orders are written as lines of text (hence the name), and, if the programs respond, they usually do so by putting information in the following lines.
Almost any program can be designed to offer the user some kind of CLI. For example, almost all PC games in the first person have a built-in command line interface, used for diagnostic and administrative tasks. As a primary work tool, the command lines are mainly used by programmers and system administrators, especially in Unix-based operating systems; in scientific and engineering environments; and by a smaller subset of advanced home users.
To use a command line, you just need the keyboard, you type commands and the computer replies to those queries, it is still widely used today because it is one of the easiest interfaces to make and the most powerful.
CLI implementations
Programs that use CLI to interact with the kernel of an operating system are often called shell or shell interpreters. Some examples are the various Unix shells (sh, ksh, csh, tcsh, bash, etc.), the historical CP / M, and the DOS command.com, the latter two strongly based on the RSTS and RSX CLIs DEC. Microsoft’s next operating system, Windows Vista, will accept a new command-line interface called MSH (Microsoft Shell, codename Monad), which hopes to combine features of traditional Unix shells with its .NET object-oriented framework. .
Some applications provide both a CLI and a GUI. An example is the AutoCAD CAD program. The scientific / engineering package of numerical computing Matlab does not provide GUI for some calculations, but the CLI can perform any calculation. The Rhinoceros 3D three-dimensional modeling program (used to design the boxes of most portable phones, as well as thousands of other industrial products) provides a CLI (whose language, by the way, is different from the Rhino script language) . In some computing environments, such as the Smalltalk or Oberon user interface, most of the text that appears on the screen can be used to give commands.
The three-dimensional games or simulators for PC usually includes a command line interface, sometimes as the only means to perform certain tasks. Quake, Unreal Tournament or Battlefield are just some examples. Generally in these environments the commands start with a “/” (slash).
Example
The command “list files”, under various programs:
|
Program
|
Comand
|
Type of program
|
|
CMD
Matlab
TACL
Quake
|
Dir
Dir
FILEINFO
/dir
|
Windows Shell
Matrix processing
Guardian Shell
PC Game
|
Graphical User Interface
Then the GUI was made, (Graphical User Interface), now people who had no idea about computer science, could use a computer, in a GUI everything is more natural, and it is not needed to understand the internals of a computer in order to use it.
After that comes the touchscreen which was popularized by Apple.
                                            Natural

╔══════════╦════════════════════════╦═══════════════════════╗
║ Personal   ║  Touch   Voice Interface    ║ ■■■■■■■■■■■■■■■■■■■■  ║
║ Common     ║  Graphical (Mouse;Keyboard) ║ ■■■■■■■■■■■■            ║
║ Pro        ║  Command line               ║ ■■■■                      ║
║ Research   ║  Punch Cards                ║ ■                         ║
╚══════════╩════════════════════════╩═══════════════════════╝
Mechanic
The interface emerges as evolution of the command line interfaces that were used in the first operating systems and is basic for a graphical environment.
Windows desktop environments, GNU / Linux X-Window or Mac OS X, Aqua are some of the best-known examples of graphical user interface. For the user to interact and establish a more comfortable and intuitive contact with the computer, the graphical user interface has become common use. An interface is the device that allows communication between two systems that do not speak in the same language. By interface is defined the set of connections and devices that facilitates communication between two systems and also to the visible side of the programs, as presented to users to interact with the computer.
It implies the presence of a monitor or screen that through a series of menus and icons represent the options that the user can choose within the system.
The characteristics of an efficient interface could be:
– Fixed and permanent representation of a specific context of action.
– Ease of understanding, learning and use.
– The object of interest must be easy to identify.
– Ergonomic design through the establishment of menus, toolbars and easily accessible icons.
– Interactions based on manual actions on elements of visual or auditory code and on menu selections with syntax and order.
IGU is a user interface in which a person interacts with digital information through a graphical simulation environment. This system of interaction is called WYSIWYG (What you see is what you get) and in it, the objects, icons of the graphic interface behave as metaphors of the action and the tasks that the user must perform.
A voice interface is just the next step, it is a way to interact with the machine, through voice commands, you say commands out loud and the machine attempts to interpret them, and based on this information it executes a task, this is indeed for humans more natural. It will be a challenge for machines but that’s what SUSI.AI is, we do have another contenders and those are Cortana, Siri, Alexa and Google assistant.
In the Amazon Alexa one can find many game skills, like Jeopardy, or CYOA games, but Amazon wants to try out these colourful buttons
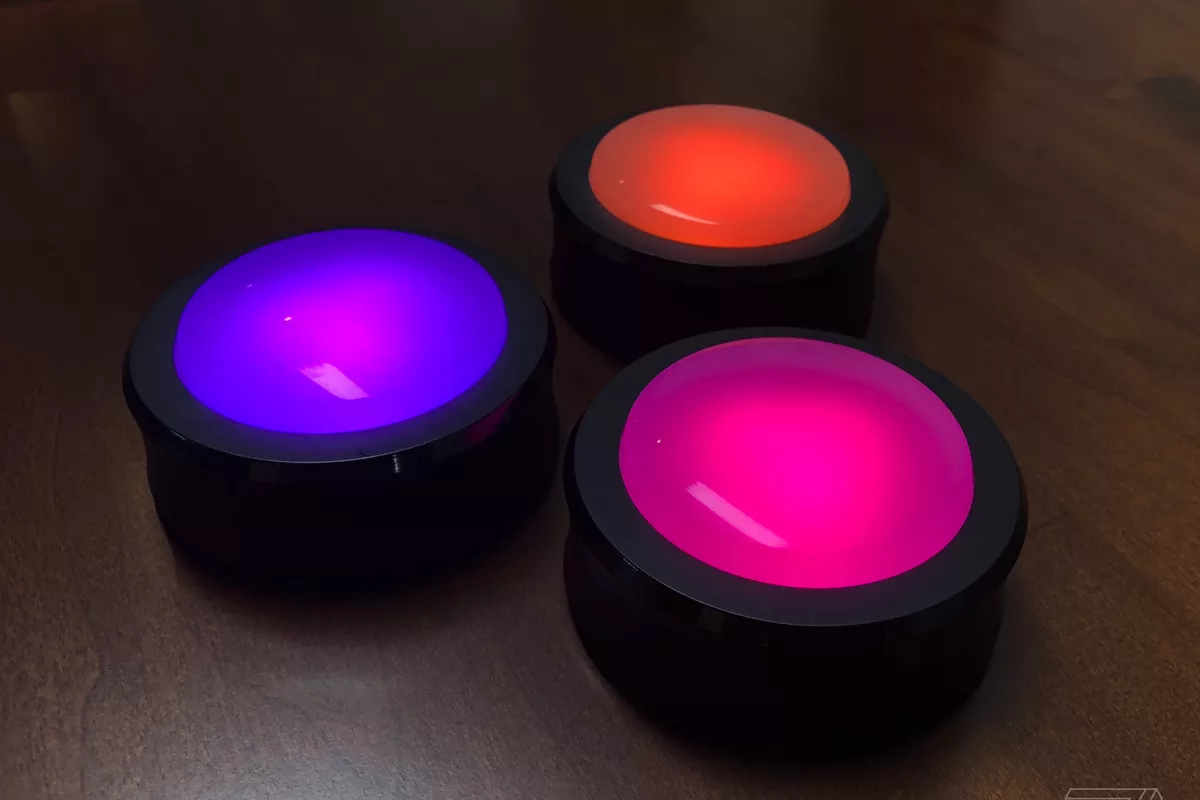
Alexa recently released “Alexa buttons”, which you can hook with an Alexa assistance, which can change colours and it can be pushed, in order to play “who can push the button the fastest” games and provide another input to alexa, also it is possible to create experiences by controlling the lights of the buttons, the speed of the transition or gradient into other colours, etc.
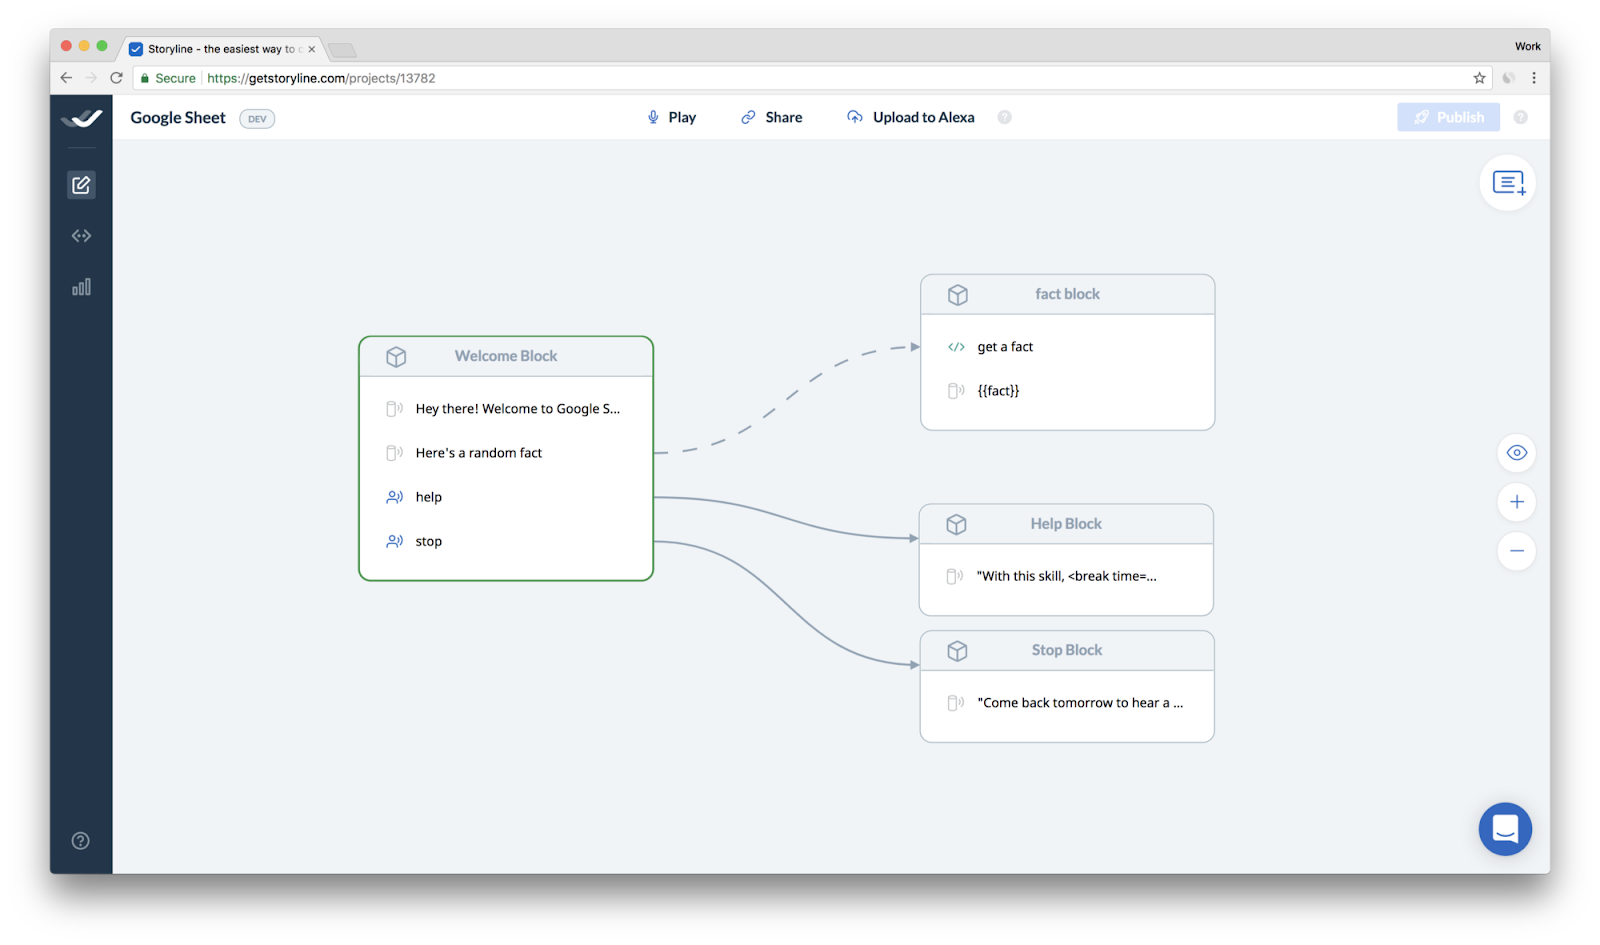
Storyline is a service that provides a web user interface where you can create Amazon Alexa skills very intuitively, Similar to node red, you click and drag boxes in configurations in order to give instructions on how to add depending on conditions, for example if the user asks “Where is the nearest bar?”, you can expect the question and set a directive accordingly.
There are strong limitations in respect of the freedom you don’t have if you use the API directly but there are also big advantages of Storyline is that you might be able to quickly create mockups in a very short time which can be very useful in hackathons, or in sketches of actual skills. You can also create an alexa skill from a spreadsheet from Google sheets.
Snips is a service that offers you the tools to create a voice assistant, completely by yourself without the need for it to be on the cloud, this means there is no privacy concerns for those who advocate privacy, however you must train it with data yourself, and you assume the costs of collecting and organizing the data, this is helpful for companies with private data that want their own voice assistants and they want to not be monitored by Amazon, Google, Apple, Microsoft, or any of the giant tech companies.
Snips is targeted for makers as well, people that want to create their own personal assistant without being limited by most of the restrictions of the other voice assistants.
Sources:
- http://ucipedia.uci.cu/index.php/L%C3%ADnea_de_comandos1