Neurolab data transfer – Establishing serial communication between Arduino and Android

In the development process of the Neurolab Android, we needed an Arduino-Android connection for transfer of data from datasets which included String and float data type values. In this blog post, I will show you how to establish a serial communication channel between

Android and Arduino through USB cable through which we can transmit data bidirectionally.

Requirements

Hardware:

  1. Android Phone
  2. Arduino (theoretically from any type, but I’ll be using Arduino Uno)
  3. USB 2.0 Cable Type A/B (for Arduino)
  4. OTG Cable (On The Go)
  5. Normal USB Cable (for transferring the data from Android Studio to your phone)

Software:

  1. Android Studio
  2. Arduino IDE

Wiring and Setup

Wiring must be established in the following way:

                                                                                 Figure: Android-Arduino Setup

Working on the Android Side

We would be using the UsbSerial Library by felHR85 for establishing serial

communication.

1. Adding the dependency:

a) Add the following line of code to your app level build.gradle file.

implementation "com.github.felHR85:UsbSerial:$rootProject.usbSerialLibraryVersion"

Note: The ‘usbSerialLibraryVersion’ may change from time to time. Please keep your project with the latest library version. Updates can be found here.

b) Add jitpack to your project.build.gradle file.

allprojects {
   repositories {
       jcenter()
       maven { url "https://jitpack.io" }
   }
}

2. Working with Arduino:

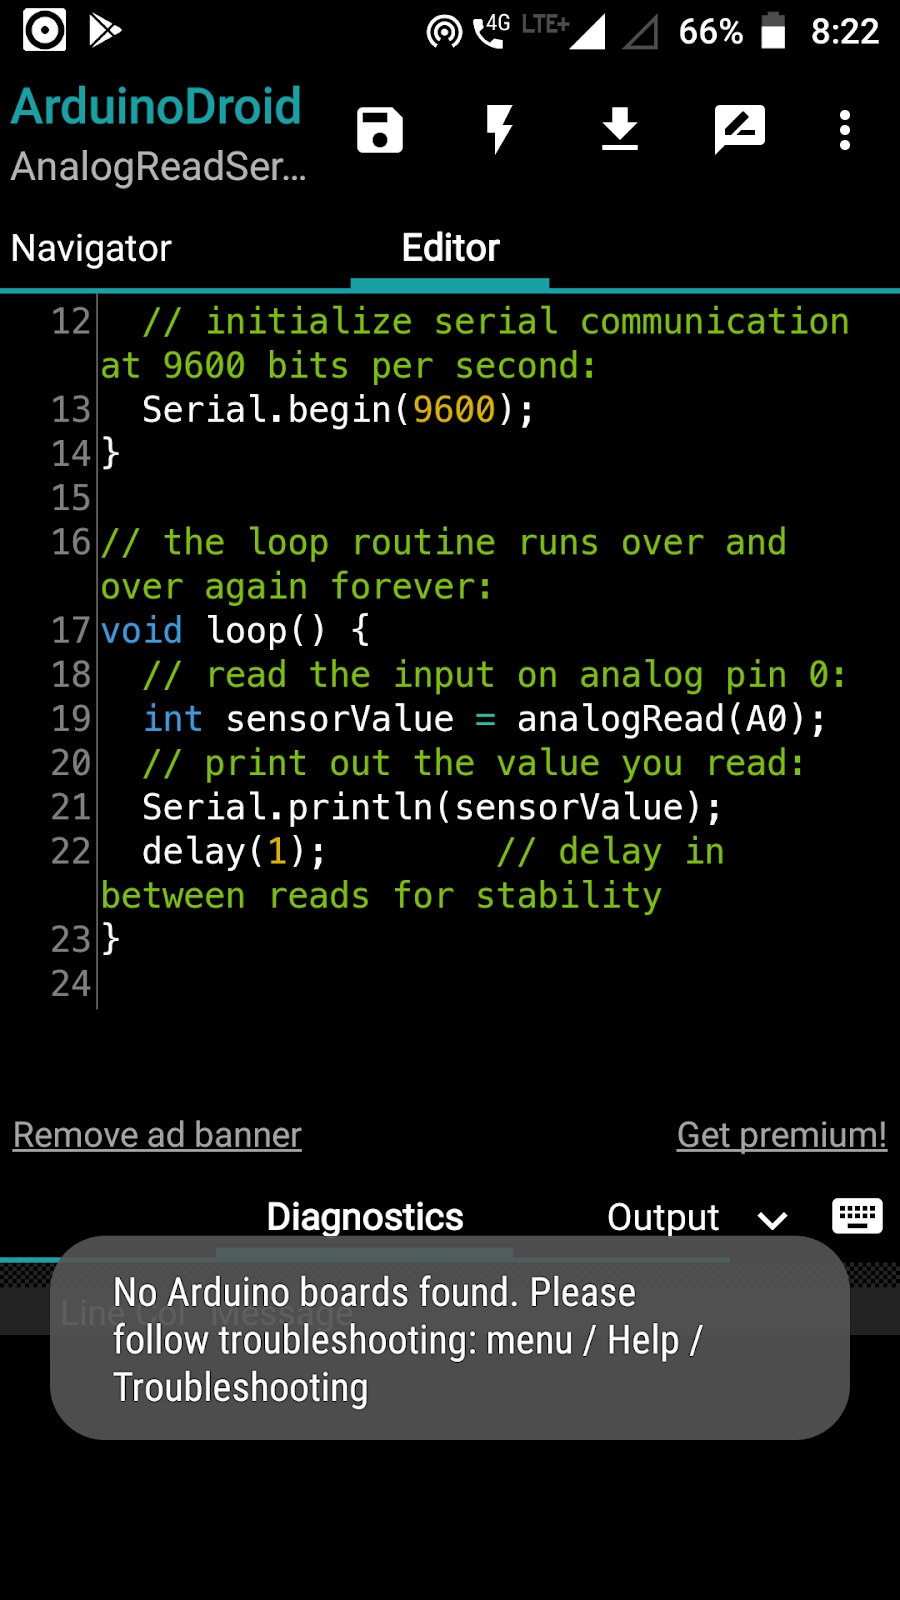
We need to program the Arduino to send and receive data. We achieve that with the help of Arduino IDE as mentioned above. Verify, compile and upload a sketch to the Arduino for sending and receiving data. If you are a complete beginner in Arduino programming, there are example sketches for this same purpose. Load an example sketch from under the communication segment and choose the serial communication sketch. Here, we will be working with a simple sketch for the Arduino such that it simply echoes whatever it receives on the serial port. Here is sketch code:

// the setup routine runs once when you press reset:
void setup() {
  // initialize serial communication at 9600 bits per second:
  Serial.begin(9600);
}

// the loop routine runs over and over again forever:
void loop() {
  char incomingByte;
   // If there is a data stored in the serial receive buffer, read it and print it to the serial port as human-readable ASCII text.
  if(Serial.available()){  
    incomingByte = Serial.read();
    Serial.print(incomingByte);  
  }
}

Feel free to compile and upload it to your own Arduino.

2. Working with Android:

  1. Firstly, we need an USBManager instance initialized with the system service – ‘USB_SERVICE’. This needs to be done in an Activity (preferably main) so that this instance can be passed to the Communication Handler class, which we are going to create next.
  2. Now, we will be working with a class for handling the serial communications with our Android device and the Arduino board. We would pass the USBManager instance to this class wherein work will be done with that to find the USBDevice and USBDeviceConnection

Starting with, we need to search for any attached Arduino devices to the Android device. We create a method for this and use the ‘getDevicesList’ callback to achieve this in the following way:

public void searchForArduinoDevice(Context context) {
        HashMap usbDevices = usbManager.getDeviceList();

        if (!usbDevices.isEmpty()) {
            boolean keep = true;
            for (Object object : usbDevices.entrySet()) {
                Map.Entry<String, UsbDevice> entry = (Map.Entry<String, UsbDevice>) object;
                device = entry.getValue();

                int deviceVID = device.getVendorId();
                if (deviceVID == ARDUINO_DEVICE_ID) { //Arduino Vendor ID = 0x2341
                    PendingIntent pi = PendingIntent.getBroadcast(context, 0,
                            new Intent(ACTION_USB_PERMISSION), 0);
                    usbManager.requestPermission(device, pi);
                    keep = false;
                } else {
                    connection = null;
                    device = null;
                }
                if (!keep)
                    break;
            }
        }
    }

c. Now, in the Activity where we will be testing or intend to work with the serial connection, we check for the usb permission in a broadcast receiver which is registered in the onCreate method of the activity along with an Intent Filter. The Intent filter has the usp permission as an action added to it.

usbCommunicationHandler = USBCommunicationHandler.getInstance(this, NeuroLab.getUsbManager());

        deviceConnector = new DeviceConnector(NeuroLab.getUsbManager());

        IntentFilter intentFilter = new IntentFilter();
 
        intentFilter.addAction(ACTION_USB_PERMISSION);
        registerReceiver(broadcastReceiver, intentFilter);

d. In the onReceive callback of the broadcast receiver, if the usb permission is granted, we initialize the serial connection with a baud rate for our Arduino device. In this initialization method, we get the connection and serial port of the connected Arduino to the Android device with which we can work. The method is implemented in the following way:

public boolean initializeSerialConnection(int baudRate) {
        connection = usbManager.openDevice(device);
        serialPort = UsbSerialDevice.createUsbSerialDevice(device, connection);
        if (serialPort != null) {
            if (serialPort.open()) { 
                serialPort.setBaudRate(baudRate);
                serialPort.setDataBits(UsbSerialInterface.DATA_BITS_8);
                serialPort.setStopBits(UsbSerialInterface.STOP_BITS_1);
                serialPort.setParity(UsbSerialInterface.PARITY_NONE);
                serialPort.setFlowControl(UsbSerialInterface.FLOW_CONTROL_OFF);
            } else {
                Log.d("SERIAL", "PORT NOT OPEN");
                return false;
            }
        } else {
            Log.d("SERIAL", "PORT IS NULL");
            return false;
        }
        setSerialPort(serialPort);
        return true;
    }

e. Now, with this ‘serialPort’ we can read data from the Arduino in the UsbReadCallback callback from the USBSerialInterface. The data is read in the form of array of bytes. This read data can be used to carry out the various functionalities we want to achieve.

With the above steps we can establish a serial connection between Android and Arduino, transmit data from Arduino to Android device for processing.

The whole working source code of the Neurolab Android project can be found here:

https://github.com/fossasia/neurolab-android/

Thanks for taking the time to read this blog. Hope it was able to make some good contributions to your knowledge base.

References

  1. https://github.com/felHR85/UsbSerial
  2. https://www.arduino.cc/reference/en/language/functions/communication/serial/

Tags: FOSSASIA, Neurolab, GSOC19, Open-source, Arduino, Serial terminal

Continue ReadingNeurolab data transfer – Establishing serial communication between Arduino and Android

How to fix undetected Arduino boards in Android

In the development process of the Neurolab Android app, we needed an Arduino-Android connection. This blog explains how to  establish the connection and getting the Arduino board detected in my Android device

Context-connecting the board and getting it detected

Arduino boards are primarily programmed from the Desktop using the Arduino IDE, but they are not limited to the former. Android devices can be used to program the circuit boards using an application named Arduinodroid.

Arduino is basically a platform for building various types of electronic projects and the best part about it is that, it is open-sourced. Arduino, the company has got two products The physical programmable circuit board (often referred to as a microcontroller). 

Examples of Arduino circuit boards – UNO, UNO CH340G, Mega, etc. Find more here.

Connecting the board and getting it detected

Arduino boards are primarily programmed from the Desktop using the Arduino IDE, but they are not limited to the former. Android devices can be used to program the circuit boards using an application named Arduinodroid.

In this blog, we are going to use Arduinodroid app for establishing a connection between the Arduino board and the Android device, getting the board detected in the Android phone and uploading a sketch to it.

Materials/Gadgets required:-

  1. Arduino board (UNO preferably)
  2. Arduino-USB Cable
  3. OTG Cable
  4. Android device

Now, one of the most frequent issues, while establishing a connection and getting the Arduino board detected with the Android device, is the error message of: “No Arduino boards detected” in the Arduinodroid app. There can be a few core reasons for this –

  1. Your Android mobile device isn’t USB-OTG supported – Probably because it is an old model or it might be a company/brand-specific issue.
  2. Disabled OTG Mode – Be sure to enable USB-OTG mode (only if your device has one) from the Developer options in your Android device settings.

Even after trying and making sure of these above points, if you still continue to get an error while uploading a sketch from the Arduinodroid app like this:

                                                            Figure 1: The Error Message

Follow the steps below carefully and simultaneously one after the other:

  1. Look for any external module attached to your Arduino board using jumper wires. If so, remove those connections completely and press the reset button on the Arduino circuit board. The attached modules can be one of the following: Micro SD Card module, Bluetooth module, etc.
  2. Remove pin connections, if any from the TX and RX pin-slots in the Arduino board. These pre-attached pins can cause unnecessary signal transfers which can hinder and make the actual port of Arduino board busy.
  3. Before connecting the Arduino to the Android device, go to the drop down menu in the app at the top-right corner -> Settings -> Board Type -> Arduino -> UNO
  4. Now, you need to code a sketch and make it ready for compile and upload to the circuit board. We will use a basic example sketch for this case. Feel free to try out your own custom coded Arduino sketches. Go to the drop-down menu -> Sketch -> Examples -> Basics -> AnalogReadSignal
  5. Don’t compile the sketch yet because we haven’t connected any Arduino circuit board to our Android device. So first, connect the Arduino circuit board to the Android device through the OTG cable connected to the Arduino-USB cable.
  6. You should see some LEDs lit up on the circuit board (indicates power is flowing to the board). Go ahead to compile the sketch. Click the ‘lightning’ icon on the top in the toolbar of the app. You should see the code/sketch getting compiled. Once done you should see a toast message saying “Compilation finished”. This signifies that your code/sketch has been verified by the compiler.

                                              Figure 2: Successful Compilation of sketch

This process is inevitable and there is hardly any issue while compiling a sketch.

       7. Upload the sketch: Click on the upload icon from the toolbar in the app. Upload             should start once you get a pop-up dialog like this:

                                           Figure 3: Arduino board detected successfully

Once you click Okay, the upload shall start and if your code is correct and matches the particular Arduino circuit board, you shall get a successful upload, which was not the case earlier for the error : “no Arduino boards found” on clicking the upload button.

So, that’s it then. Hope this blog adds value to your development skills and you can continue working bug free with your Android-Arduino connections.

Resources:

  1. Author – Nick Gamon, Article – Have I bricked my Arduino uno problems with uploading to board, Date – Nov’16 2016, Website – https://arduino.stackexchange.com/questions/13292/have-i-bricked-my-arduino-uno-problems-with-uploading-to-board
  2. Author – Arduino Products, Article – Arduino boards, Website – https://www.arduino.cc/en/Main/Boards

3. Author – Anton Smirnov, App name – ArduinoDroid, Website – https://play.google.com/store/apps/details?id=name.antonsmirnov.android.arduinodroid2&hl=en_IN

Tags: FOSSASIA, Neurolab, GSOC19, Open-source, Arduino, Serial terminal

Continue ReadingHow to fix undetected Arduino boards in Android