

Basics behind school level experiments with PSLab
Electronics is a fascinating subject to most kids. Turning on a LED bulb, making a simple circuit will make them dive into much more interesting areas in the field of electronics. PSLab android application with the help of PSLab device implements a set of experiments whose target audience is school children. To make them more interested in science and electronics, there are several experiments implemented such as measuring body resistance, lemon cell experiment etc.
This blog post brings out the basics in implementing these type of experiments and pre-requisite.
Lemon Cell Experiment
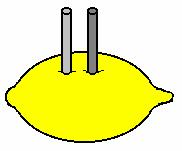
float voltage = (float) scienceLab.getVoltage("CH1", 10);
2000 instances are recorded using this method and plotted against each instance. The output graph will show a decaying graph of voltage measured between the nails driven into the lemon.
for (int i = 0; i < timeAxis.size(); i++) {
   temp.add(new Entry(timeAxis.get(i), voltageAxis.get(i)));
}
Human Body Resistance Measurement Experiment
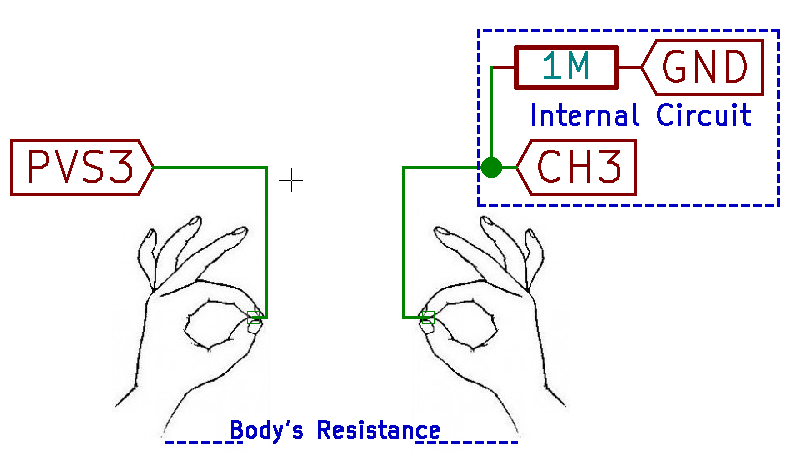
The PSLab device has an internal resistance of 1M Ohms connected with the Channel 3 pin. Experiment requires a student to hold two wires with the metal core exposed; in both hands. One wire is connected to PV3 pin when the other wire is connected to CH3 pin. When a low voltage is supplied from the PV3 pin, due to heavy resistance in body and the PSLab device, a small current in the range of nano amperes will flow through body. Using the reading from CH3 pin and the following calculation, body resistance can be measured.
voltage = (float) scienceLab.getVoltage("CH3", 100);
current = voltage / M;
resistance = (M * (PV3Voltage - voltage)) / voltage;
This operation is executed inside a while loop to provide user with a continuous set of readings. Using Java threads there is a workaround to implement the functionalities inside the while loop without overwhelming the system. First step is to create a object without any attribute.
private final Object lock = new Object();
Java threads use synchronized methods where other threads won’t start until the first thread is completed or paused operation. We make use of that technique to provide enough time to read CH3 pin and display output.
while (true) {
   new MeasureResistance().execute();
   synchronized (lock) {
       try {
           lock.wait();
       } catch (InterruptedException e) {
           e.printStackTrace();
       }
   }
}
Once the pin readings and value updates are complete the lock is released to execute the method once again.
updateDataBox();
synchronized (lock) {
   lock.notify();
}
Capacitor Discharge Experiment
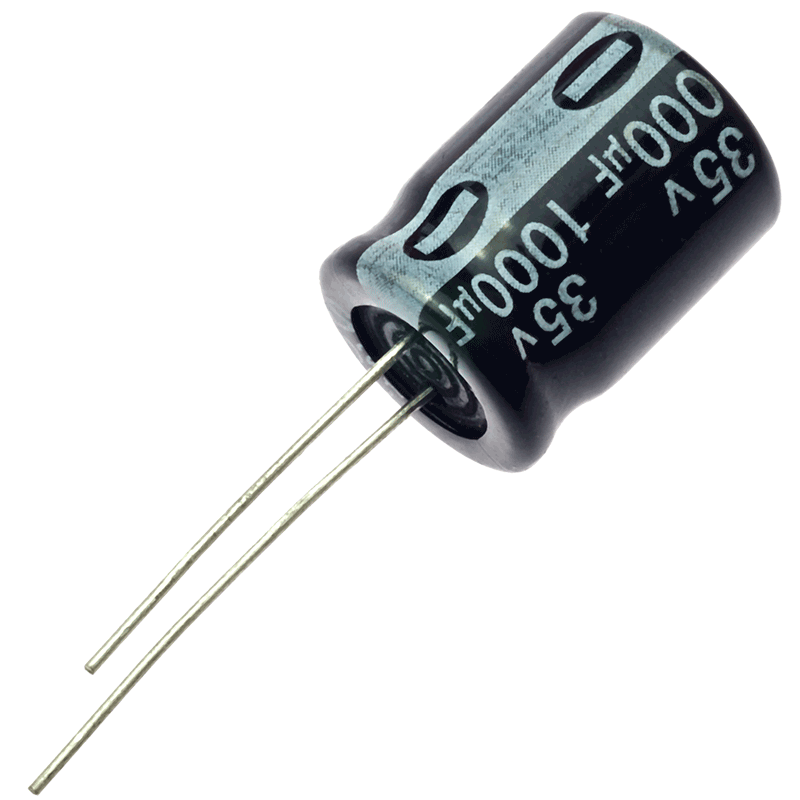
Using the SQR1 pin of the PSLab device, one capacitor is charged to its fullest capacity using a PWM wave with 100% duty cycle at a 100 Hz.
scienceLab.setSqr1(100, 100, false);
This capacitor is then connected in parallel with the other capacitor which is empty. The voltage transfer is measured using CH1 pin at a sampling rate of 10
float voltage = (float) scienceLab.getVoltage("CH1", 10);
To provide a continuous update in the voltage transfer, a similar implementation is used using an object in the thread to control the implementation inside a while loop.
Resources:
- PSLab Desktop Application: https://github.com/fossasia/pslab-desktop-apps
- Lemon Cell Battery: https://www.youtube.com/watch?v=GhbuhT1GDpI
- Java Multi Threading: https://www.tutorialspoint.com/java/java_multithreading.htm