

Recently, we implemented a cool feature in the Open Event Webapp. We provided the facility to download the png image of the schedule of an event at the click of a button. The user can download the schedule of an event in both the list and the calendar view. There are situations when the speaker or the organizer of an event want to get a hard-copy of the schedule so that they can paste it on notice boards for the convenience of the visitors. With the help of PNG Export functionality, they can download the png image of the schedule and print it easily.
The whole code can be seen here. On the schedule page, the user can view the sessions in two modes: list and the calendar mode. Capturing a portion of the document and then converting it to an image is no easy task. It is because we can’t directly convert an HTML element to an image. We have to first somehow render that HTML element on the canvas and then convert it to an image.It is a two-step process. Rendering an HTML element on the canvas is the most important part and challenging part. The better we will be able to render an element on the canvas, the better will be the output quality of the image.
Fortunately for us, we don’t have to implement it from scratch (which would have been extremely difficult and time-consuming). Enter html2canvas library. It renders an element onto the canvas after which we can convert it into an image. I will now explain how we implemented png export in the calendar mode. You can view the whole schedule template file here
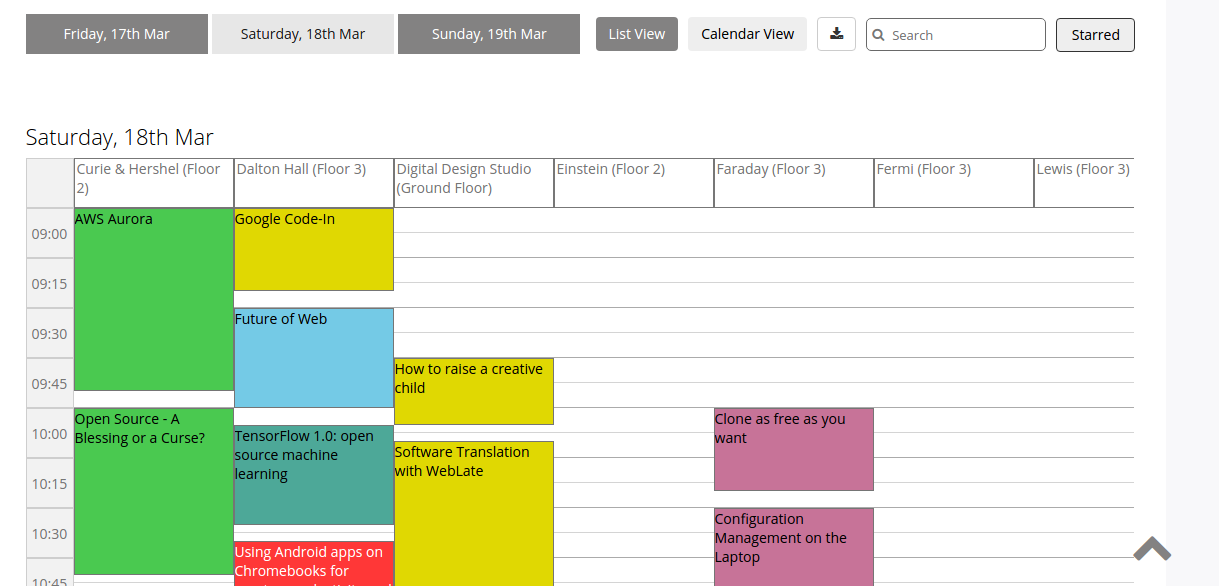
Here is a screenshot of calendar or grid view of the schedule. Currently selected date is 18th Mar, Saturday. The PNG Export button is on the top-right corner beside the ‘Calendar View’ button.
Here is a little excerpt of the basic structure of the calendar mode of the sessions. I have given an overview of it in the comments.
<div class="{{slug}} calendar">
 <!-- slug represents the currently selected date -->
 <!-- This div contains all the sessions scheduled on the selected date -->
 <div class="col-md-12 paddingzero">
   <!-- Contain content related to current date and time -->
 </div>
 <div class="calendar-content">
   <div class="times">
     <!-- This div contains the list of all the session times on the current day -->
     <!-- It is the left most column of the grid view which contains all the times →
     <div class="time">
       <!-- This div contains information about the particular time -->
     </div>
   </div>
   <div class="rooms">
     <!-- This div contains all the rooms of an event -->
     <!-- Each particular room has a set of sessions associated with it on that particular date -->
     <div class="room">
       <!-- This div contains the list of session happening in a particular room -->
       <!-- Session Details -->
     </div>
   </div>
 </div>
</div>
Now, let us see how we will actually capture an image of the HTML element shown above. Here is the code related to it:
$(".export-png").click(function() {
 if (isCalendarView === true) {

   $('.calendar').each(function() {
     if ($(this).attr('class').split(' ').indexOf('hide') <= 0) {

       $timeline = $(this);
       initialWidth = $timeline.width();
       numberOfChildElements = $timeline.find('.rooms')[0].childElementCount;
       numberOfChildElements = numberOfChildElements - 1;
       widthOfChild = $timeline.find('.room').width();
       canvasWidth = numberOfChildElements * widthOfChild + 50;
       $timeline.width(canvasWidth);
     }
   });
 }

 html2canvas($timeline, {
   onrendered: function(canvas) {
     canvas.id = "generated-canvas";
     canvas.toBlob(function(blob) {
       saveAs(blob, '' + $timeline.attr('class') + '.png');
     });
   },
 });
 $timeline.width(initialWidth);
});
Note that this initial width calculated is the width which is visible to us on the screen. In reality, the element might be scrollable and its actual width might be different. If we render the element using the initial width, we would not be able to see the full contents of that element. It will not show the whole view. Hence we need to calculate the actual width.Let us see what is going on in this code. When the user clicks on the export PNG button, we check whether we are in the calendar mode or not. If yes, then we proceed further. We then see which date is currently selected and accordingly select that div. After selecting it, we then get the initial width of that element.
So, we check all the child elements inside it, get their count and width and then calculate the actual width of the parent element based on it. Temporarily, we set this actual width as the width of the session element and pass it to the html2canvas function. That in turn, renders the whole element onto a canvas. After it has been successfully rendered onto the canvas, we save it to as an image and present a download box to the user for downloading that image.
Here is the download pop-up box

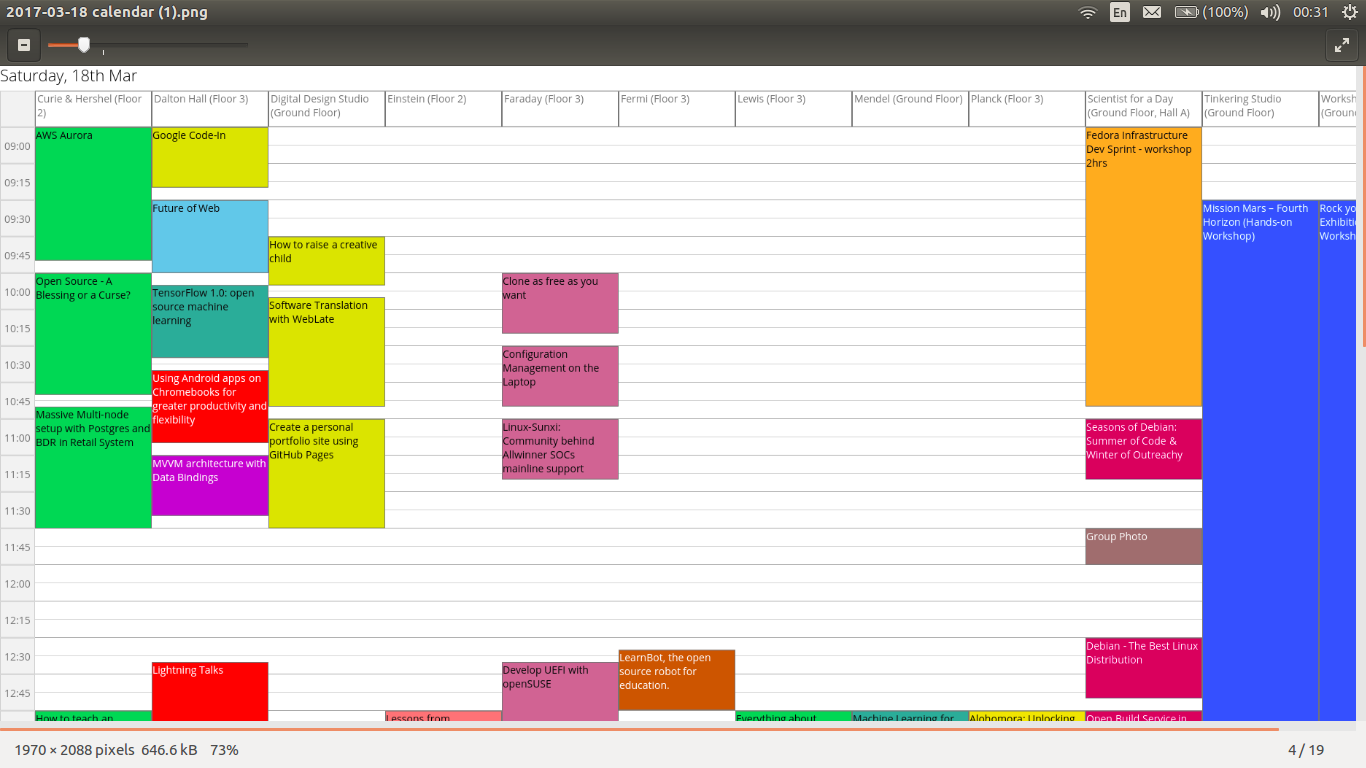
And this is the downloaded PNG Image. Click on it for a higher resolution!
Resources
- html2Canvas Library