
The open-event-webapp project, which is a generator for event websites, is hosted on heroku. While it was easy and smooth sailing to host it on heroku for a single branch setup, we moved to a 2-branch policy later on. We make all changes to the development branch, and every week once or twice, when the codebase is stable, we merge it to master branch.
So we had to create a setup where –
master branch –> hosted on –> heroku master
development branch –> hosted on –> heroku dev
Fortunately, for such a setup, Heroku provides a functionality called pipelines and a well documented article on how to implement git-flow
First and foremost, we created two separate heroku apps, called opev-webgen and opev-webgen-dev
To break it down, let’s take a look at our configuration. First step is to set up separate apps in the travis deploy config, so that when development branch is build, it pushed to open-webgen-dev and when master is built, it pushes to opev-webgen app. The required lines as you can see are –
https://github.com/fossasia/open-event-webapp/blob/master/.travis.yml#L25
https://github.com/fossasia/open-event-webapp/blob/development/.travis.yml#L25
Now, we made a new pipeline on heroku dashboard, and set opev-webgen-dev and opev-webgen in the staging and production stages respectively.


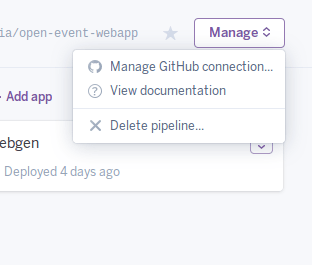
Then, using the “Manage Github Connection” option, connect this app to your github repo.
Once you’ve done that, in the review stage of your heroku pipeline, you can see all the existing PRs of your repo. Now you can set up temporary test apps for each PR as well using the Create Review App option.

So now we can test each PR out on a separate heroku app, and then merge them. And we can always test the latest state of development and master branches.
You must be logged in to post a comment.