Open Event Server – Export Event as an iCalendar File

FOSSASIA‘s Open Event Server is the REST API backend for the event management platform, Open Event. Here, the event organizers can create their events, add tickets for it and manage all aspects from the schedule to the speakers. Also, once he makes his event public, others can view it and buy tickets if interested.

To make event promotion easier, we also provide the event organizer to export his event as an iCalendar file. Going by the Wikipedia definition, iCalendar is a computer file format which allows Internet users to send meeting requests and tasks to other Internet users by sharing or sending files in this format through various methods. The files usually have an extension of .ics. With supporting software, such as an email reader or calendar application, recipients of an iCalendar data file can respond to the sender easily or counter propose another meeting date/time. The file format is specified in a proposed internet standard (RFC 5545) for calendar data exchange.

Server side – generating the iCal file

Here we will be using the icalendar package for Python as the file writer.

from icalendar import Calendar, vCalAddress, vText
  • We define a class ICalExporter which has a static method export(event_id).
  • Query the event using the event_id passed and start forming the calendar:
event = EventModel.query.get(event_id)

cal = Calendar()
cal.add('prodid', '-//fossasia//open-event//EN')
cal.add('version', '2.0')
cal.add('x-wr-calname', event.name)
cal.add('x-wr-caldesc', "Schedule for sessions at " + event.name)
  • We query for the accepted sessions of the event and store it in sessions.
sessions = Session.query \
   .filter_by(event_id=event_id) \
   .filter_by(state='accepted') \
   .filter(Session.deleted_at.is_(None)) \
   .order_by(asc(Session.starts_at)).all()
  • We then iterate through all the sessions in sessions.
  • If it is a valid session, we instantiate an icalendar event and store required details.
event_component = icalendar.Event()
event_component.add('summary', session.title)
event_component.add('uid', str(session.id) + "-" + event.identifier)
event_component.add('geo', (event.latitude, event.longitude))
event_component.add('location', session.microlocation.name or '' + " " + event.location_name)
event_component.add('dtstart', tz.localize(session.starts_at))
event_component.add('dtend', tz.localize(session.ends_at))
event_component.add('email', event.email)
event_component.add('description', session.short_abstract)
event_component.add('url', url_for('event_detail.display_event_detail_home',
                                  identifier=event.identifier, _external=True))
  • We then loop through all the speakers in that particular session and add it to the iCal Event object as well.
for speaker in session.speakers:
   # Ref: http://icalendar.readthedocs.io/en/latest/usage.html#file-structure
   # can use speaker.email below but privacy reasons
   attendee = vCalAddress('MAILTO:' + event.email if event.email else 'undefined@email.com')
   attendee.params['cn'] = vText(speaker.name)
   event_component.add('attendee', attendee)
  • This event_component is then added to the cal object that we created in the beginning.
cal.add_component(event_component)
  • And finally, the cal.to_ical() is returned. This is the iCalendar file contents. This can be directly written to a file.
return cal.to_ical()

Obtaining the iCal file:

Firstly, we have an API endpoint which starts the task on the server.

GET - /v1/events/{event_identifier}/export/ical

Here, event_identifier is the unique ID of the event. This endpoint starts a celery task on the server to export the event as an iCal file. It returns the task of the URL to get the status of the export task. A sample response is as follows:

{
  "task_url": "/v1/tasks/b7ca7088-876e-4c29-a0ee-b8029a64849a"
}

The user can go to the above returned URL and check the status of his Celery task. If the task completed successfully he will get the download URL. The endpoint to check the status of the task is:

and the corresponding response from the server –

{
  "result": {
    "download_url": "/v1/events/1/exports/http://localhost/static/media/exports/1/zip/OGpMM0w2RH/event1.zip"
  },
  "state": "SUCCESS"
}

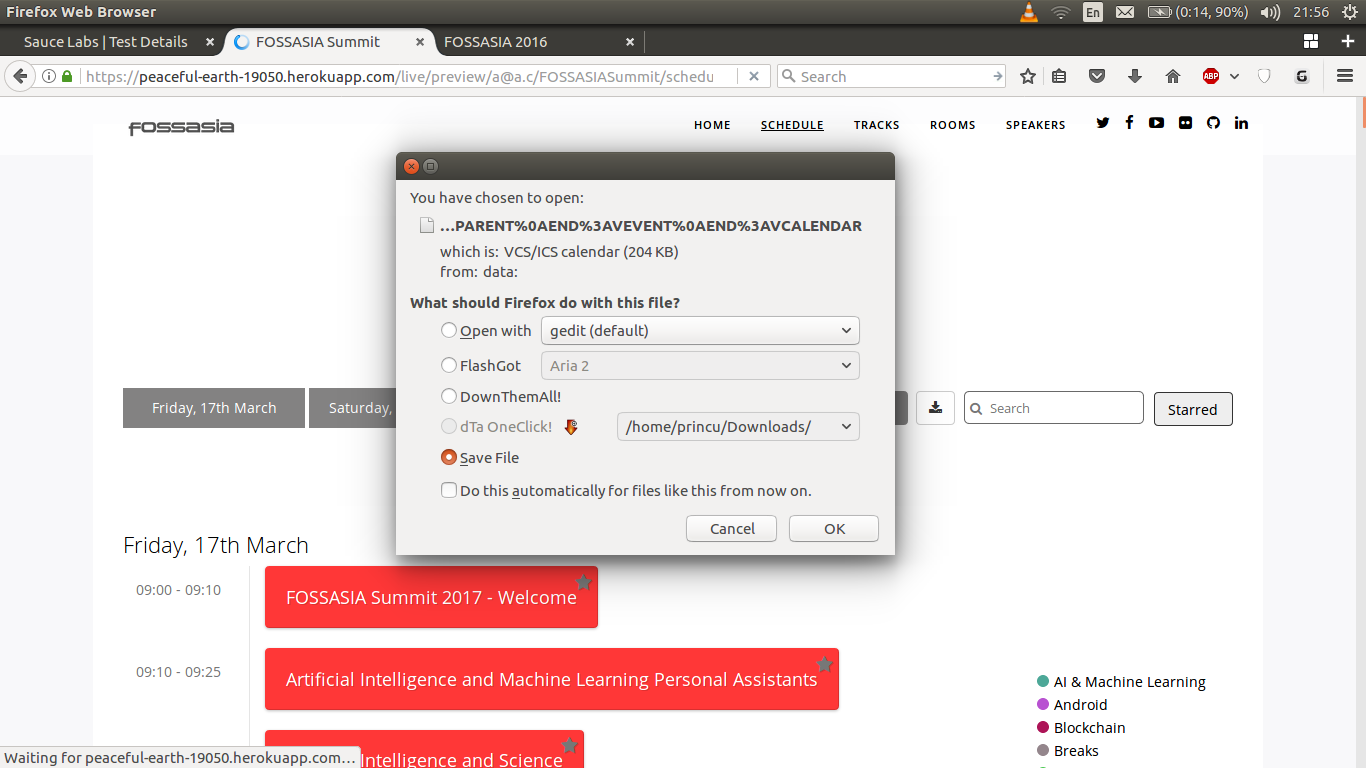
The file can be downloaded from the above mentioned URL.

Hence, now the event can be added to any scheduling app which recognizes the ics format.

References

Continue ReadingOpen Event Server – Export Event as an iCalendar File

Implementing ICS/ICAL to sync calendars with the event schedule in Open Event Webapp

As an end result, we want to provide a button to the user which will export the whole data of the event schedule to an ICS file and present it to the user for download after clicking the button. The whole work regarding the feature can be seen here.

Instead of implementing the whole specification ourselves which would be much tougher and time-consuming, we looked for some good open source libraries to do a bit of heavy lifting for us. After searching exhaustively for the solution, we came across this library which seemed appropriate for the job. The heart of the library is a function which takes in an object which contains information about the session. It expects information about the start and end time, subject, description and location of the session. Here is an excerpt from the function. The whole file can be seen here

var addEvent = function (session) {
 var calendarEvent = [
   'BEGIN:VEVENT',
   'UID:' + session.uid,
   'CLASS:PUBLIC',
   'DESCRIPTION:' + session.description,
   'DTSTART;VALUE=DATETIME:' + session.begin,
   'DTEND;VALUE=DATE:' + session.stop,
   'LOCATION:' + session.location,
   'SUMMARY;LANGUAGE=en-us:' + session.subject,
   'TRANSP:TRANSPARENT',
   'END:VEVENT'
 ];
 calendarEvents.push(calendarEvent);
};

We need to call the above function for every session in the event schedule. In the schedule template file, we have the jsonData object available which contain all the information about the event. It contains a field called timeList which contains the chronological order of the different sessions taking place throughout the events. The structure of that sub-object is something like this.

[{'slug': '2017-03-20', 'times': {'caption' : '09:00-09:30', 'sessions': [{'title': 'Welcome', 'description': 'Opening of the event', 'start': '09:00', 'end': '09:30'}]}]

So, we define a function for iterating through every session in the above object and adding it to the calendar. We can use most of the attributes directly but have to modify the date and time fields of the session to an appropriate format before adding it. The specification expects time in the ISO 8601 Format. You can read more about the specification here. For eg – If the date is 2017-03-20 and the time is 09:30 then it should be written as 20170320T093000. Here is some part of the function here

function exportICS() {
 var scheduleArr = {{{json timeList}}};
 // Helper functions for converting time to ISO 8601 Format
 function removeDashFromDate(date) {
   return date.replace(/-/g, '');
 }
 function removeColonFromTime(time) {
   return time.replace(/:/g, '');
 }
 // Iteration through the object and adding every session to the calendar
 scheduleArr.forEach(function(scheduleDay) {
   var date = removeDashFromDate(scheduleDay.slug);
   scheduleDay.times.forEach(function(time) {
     time.sessions.forEach(function(session) {
       var sessObj = {};
       sessObj.begin = date + 'T' + removeColonFromTime(session.start) + '00';
       sessObj.stop = date + 'T' + removeColonFromTime(session.end) + '00';
       sessObj.subject = session.title;
       sessObj.description = session.description;
       sessObj.location = session.location;
       cal.addEvent(sessObj);
     });
   });
 });
 cal.download('calendar', 'ics', false); // Download the ics file of the calendar
}

After defining the function, we add a button for starting the download of the whole schedule of the event. On clicking, we call the function which initiates the download after all the sessions of the event have been added.

<span class="schedule-download">
 <button type="button" class="btn btn-default export-schedule"><i class="fa fa-calendar" aria-hidden="true"></i></button>
</span>

$('.export-schedule').click(function() {
 exportICS();
});

Here is the export schedule button

65203af9-3962-4ab5-9655-3250bf2253a0.png

This is the download pop-up of the ICS file of the event.

Screenshot from 2017-08-10 21-56-16.png

After importing it in the Google calendar

Screenshot from 2017-08-10 23-01-22.png

References

Continue ReadingImplementing ICS/ICAL to sync calendars with the event schedule in Open Event Webapp

Export Timeline as iCal

iCal or iCalendar is the Internet standard for sharing event schedules or session timelines among each other. The filename extension for iCal is .ics . It is supported by a number of applications such as Google Calendar, Apple Calendar,] Yahoo! Calendar, Lightning extension for Mozilla Thunderbird and SeaMonkey, and partially by Microsoft Outlook . In Open Event Organizer’s Server we have added a feature to export the Schedule of a particular Event in iCal format.

Continue ReadingExport Timeline as iCal